
As a fashion blogger I completely agree that a smile is the pretties thing you can wear! Recently I’ve been thinking about how I could improve upon mine.
Teeth Whitening Options
At my last dental cleaning I happened to ask my dental hygienist about teeth whitening options. I typically don’t whiten my teeth thanks to their sensitivity, but after years of drinking coffee, tea, and eating dark chocolate they weren’t as white as I’d like them to be.
The best option was having my dentist make custom trays for my teeth and whitening them at home. Sadly, this option comes with a steep price tag (around $500) so I opted for white strips instead. My dental hygienist recommended brushing with sensitive tooth paste a week before using the white strips to help with sensitivity. Although that did help with my sensitivity, I didn’t see much improvement in the color of my teeth.
So, it couldn’t have been better timing that Smile Brilliant approached me to try their at home whitening kit valued at $149. I never knew there was an option to get the same dentist results from the comfort of my own home and without the expensive price tag!
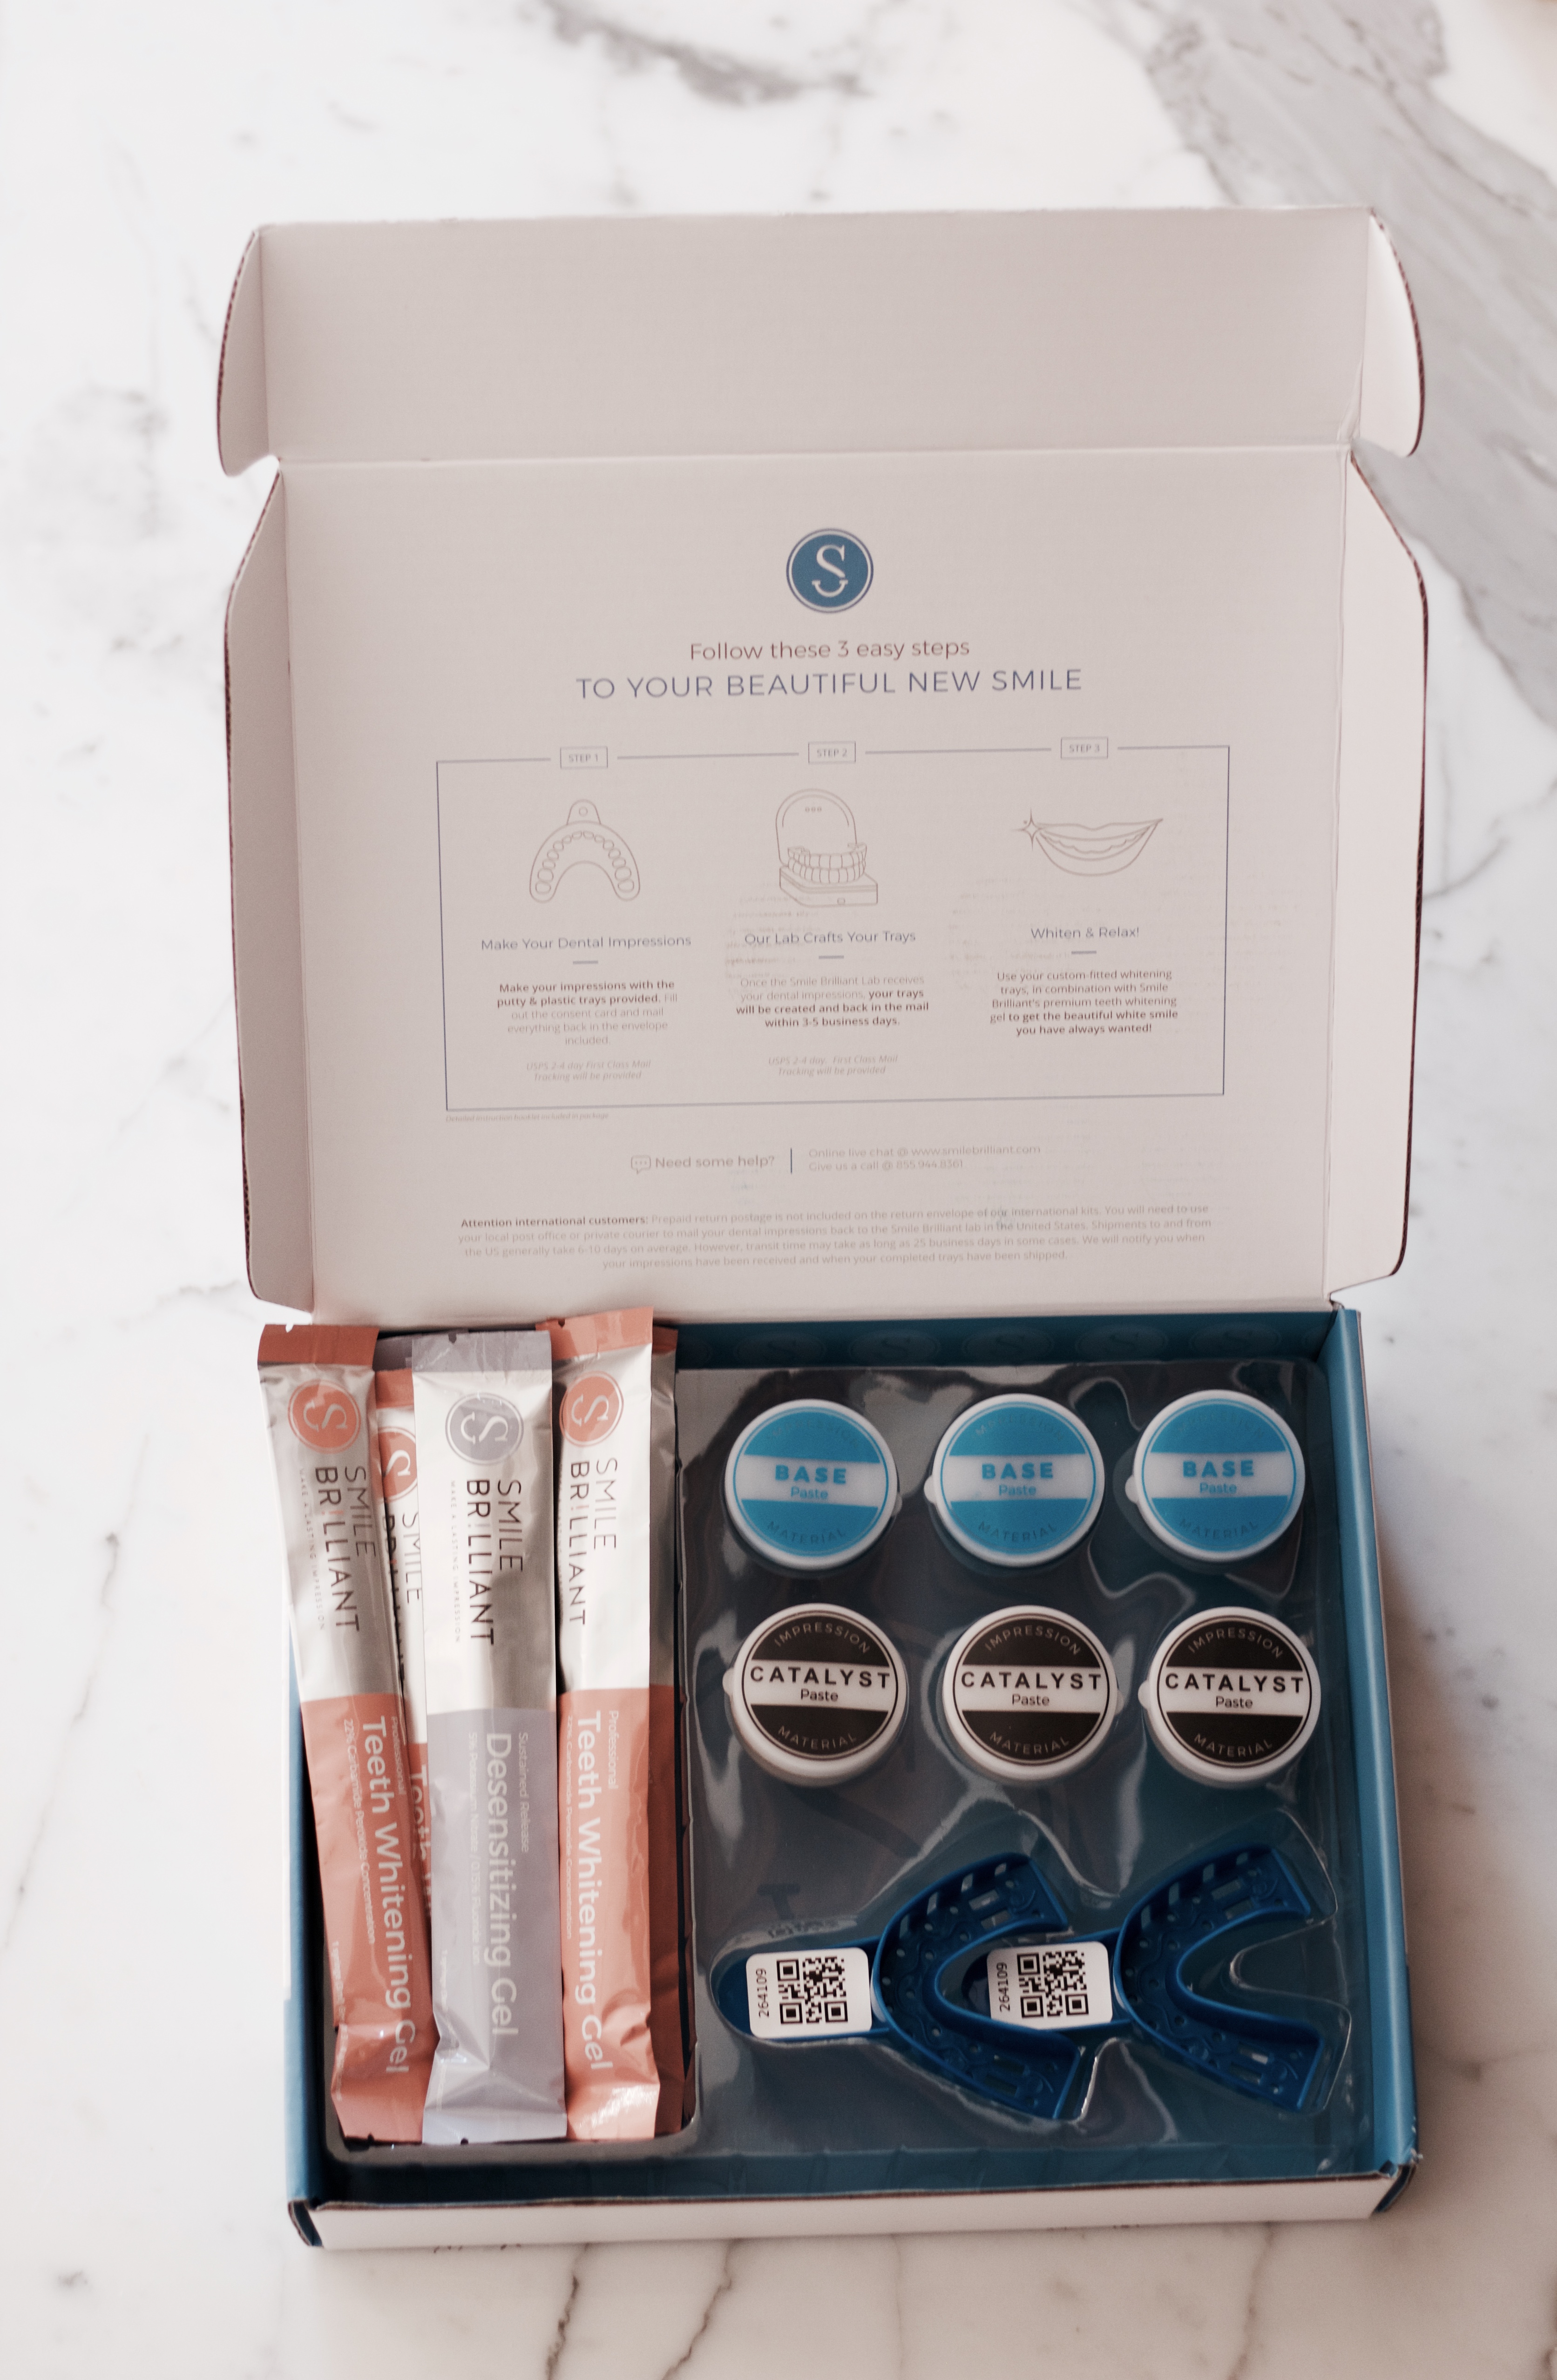
The kit includes two plastic trays to hold the impressions, three sets of paste to make the impressions with (an extra set incase of a mistake), a prepaid mailing envelop to mail off the impressions, 4 syringe of whitening gel & desensitizing gel, and step by step instructions on how to make the impressions as well as how to whiten your teeth.
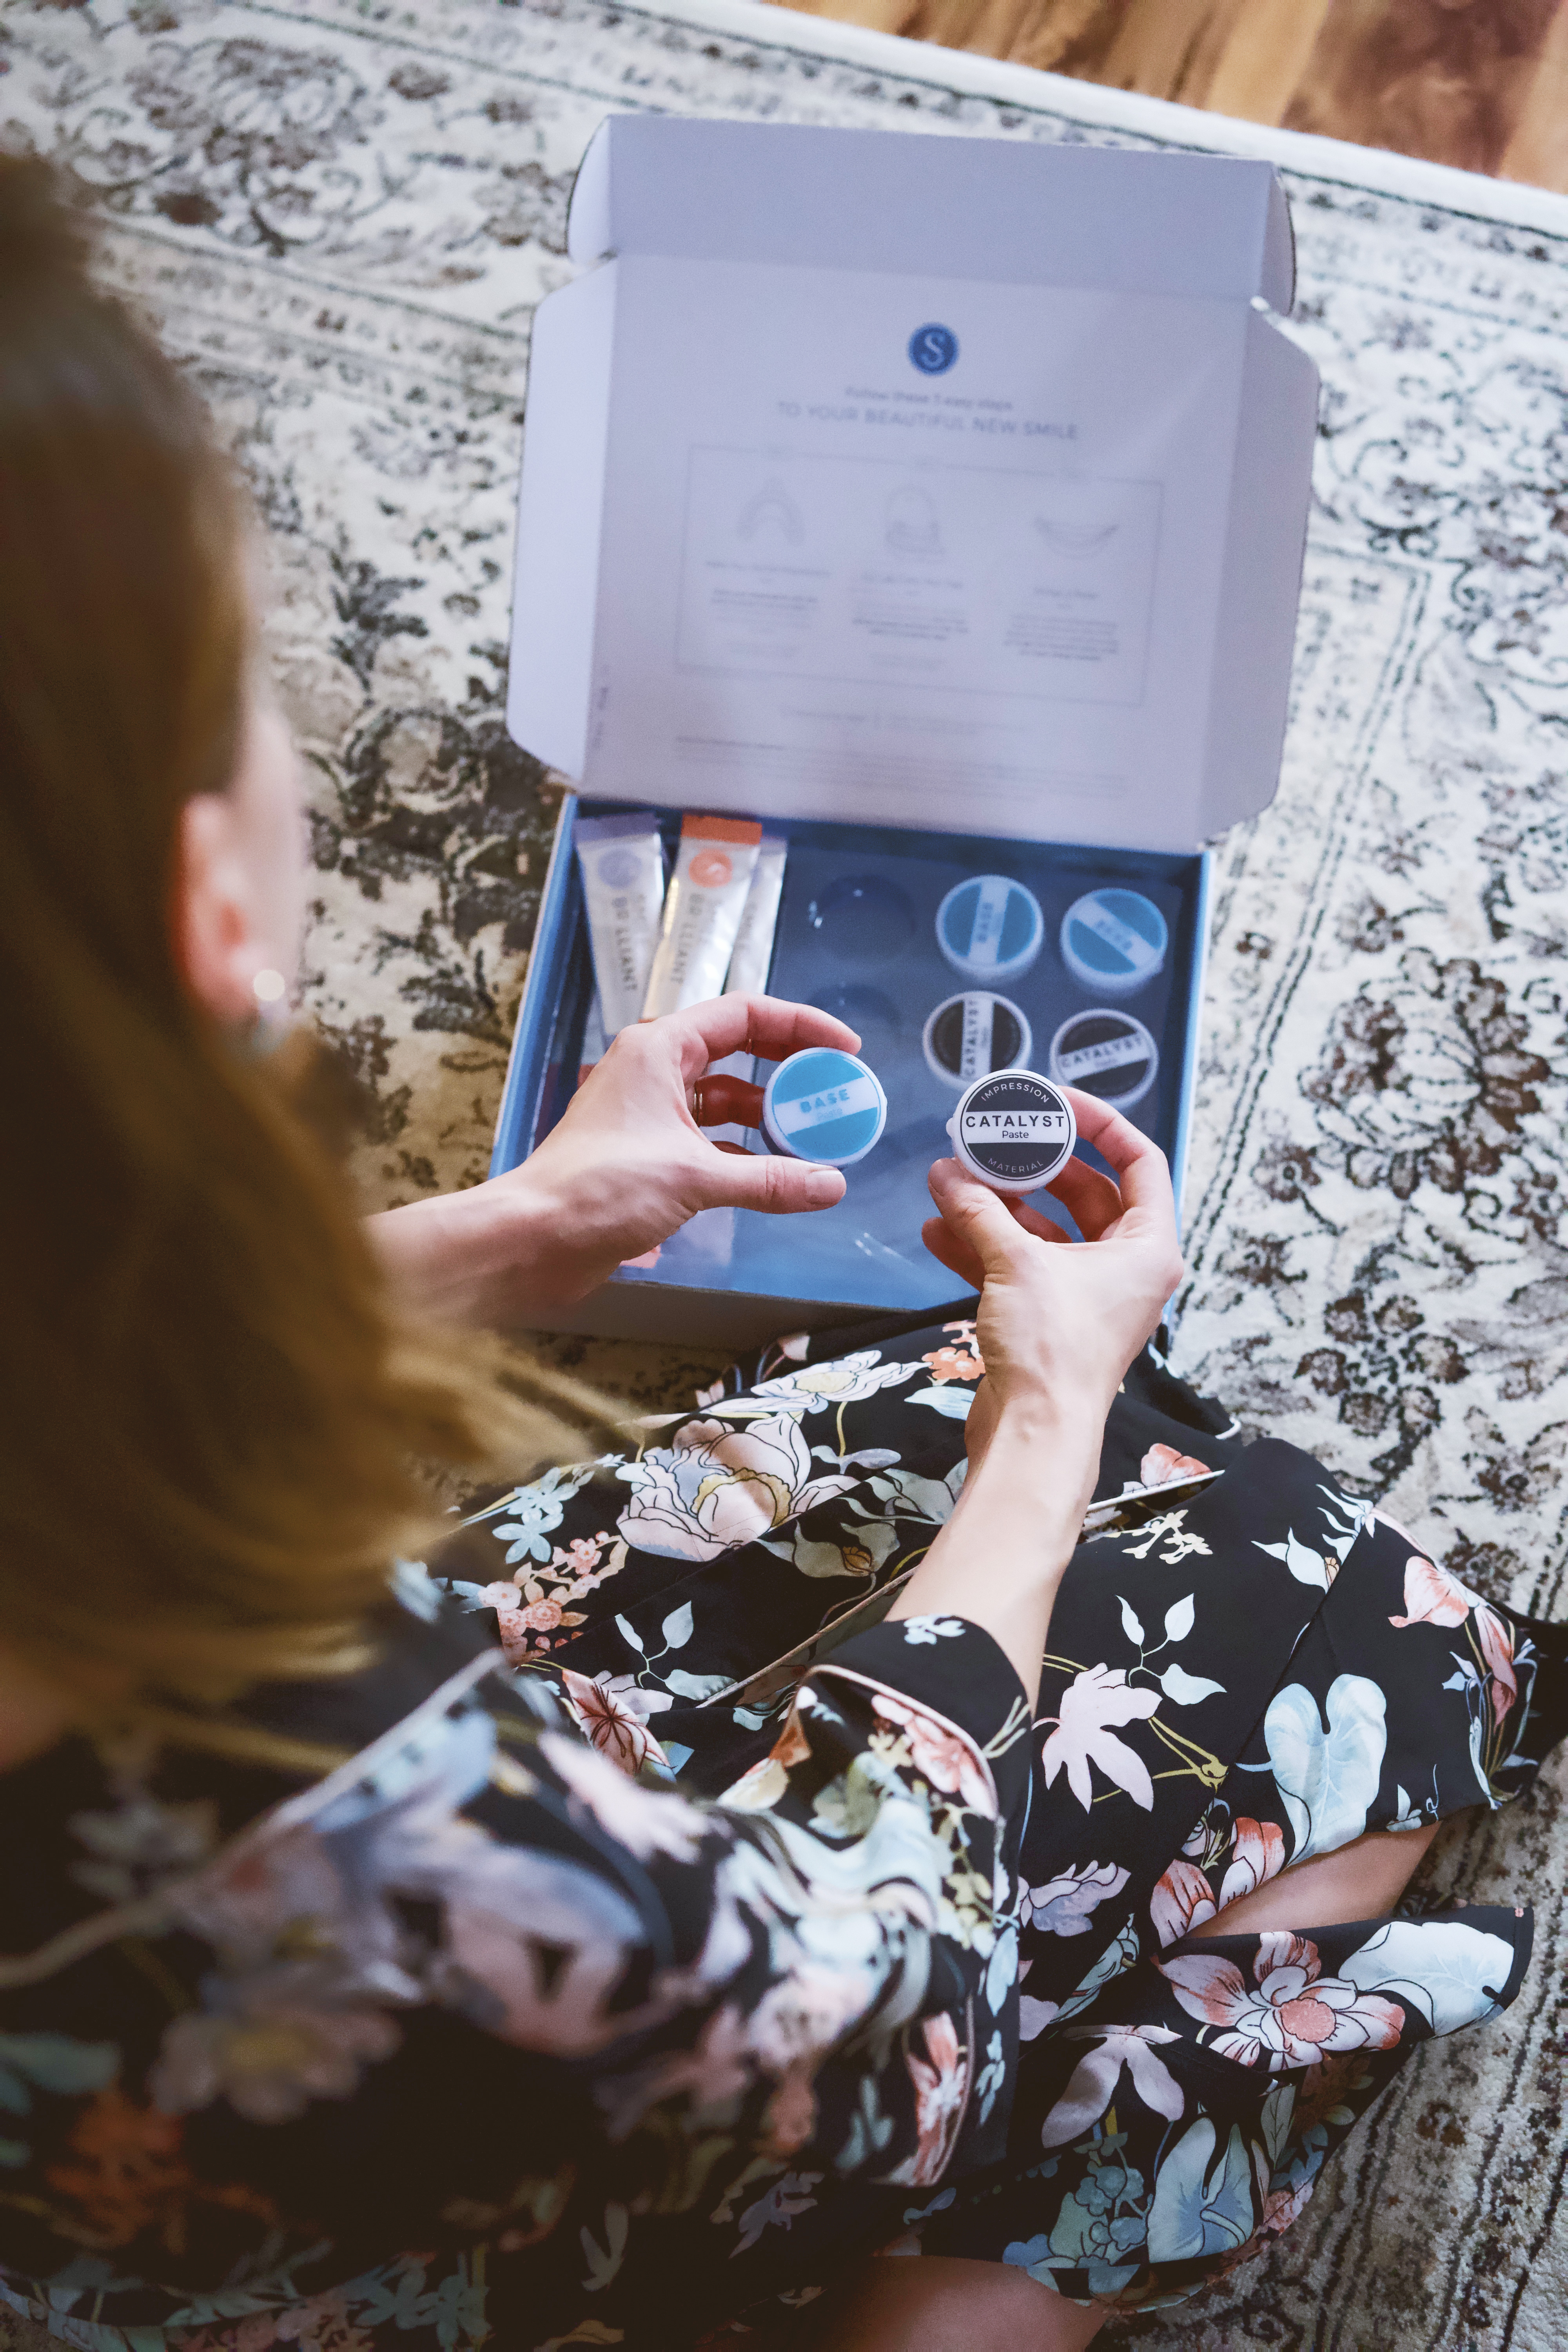
Making The Impressions
Making the impressions is simple. Mix one of the base paste (blue container) with one of the catalyst paste (black container) until they are completely mixed. Once mixed roll the past into a tube shape and place it in the plastic tray. Lastly press the paste into your teeth to make the impression and repeat with your lower teeth. After the impressions are made and completely hardened mail them back to Smile Brilliant in the pre paid envelope. It took about two weeks for my custom trays be mailed back to me.
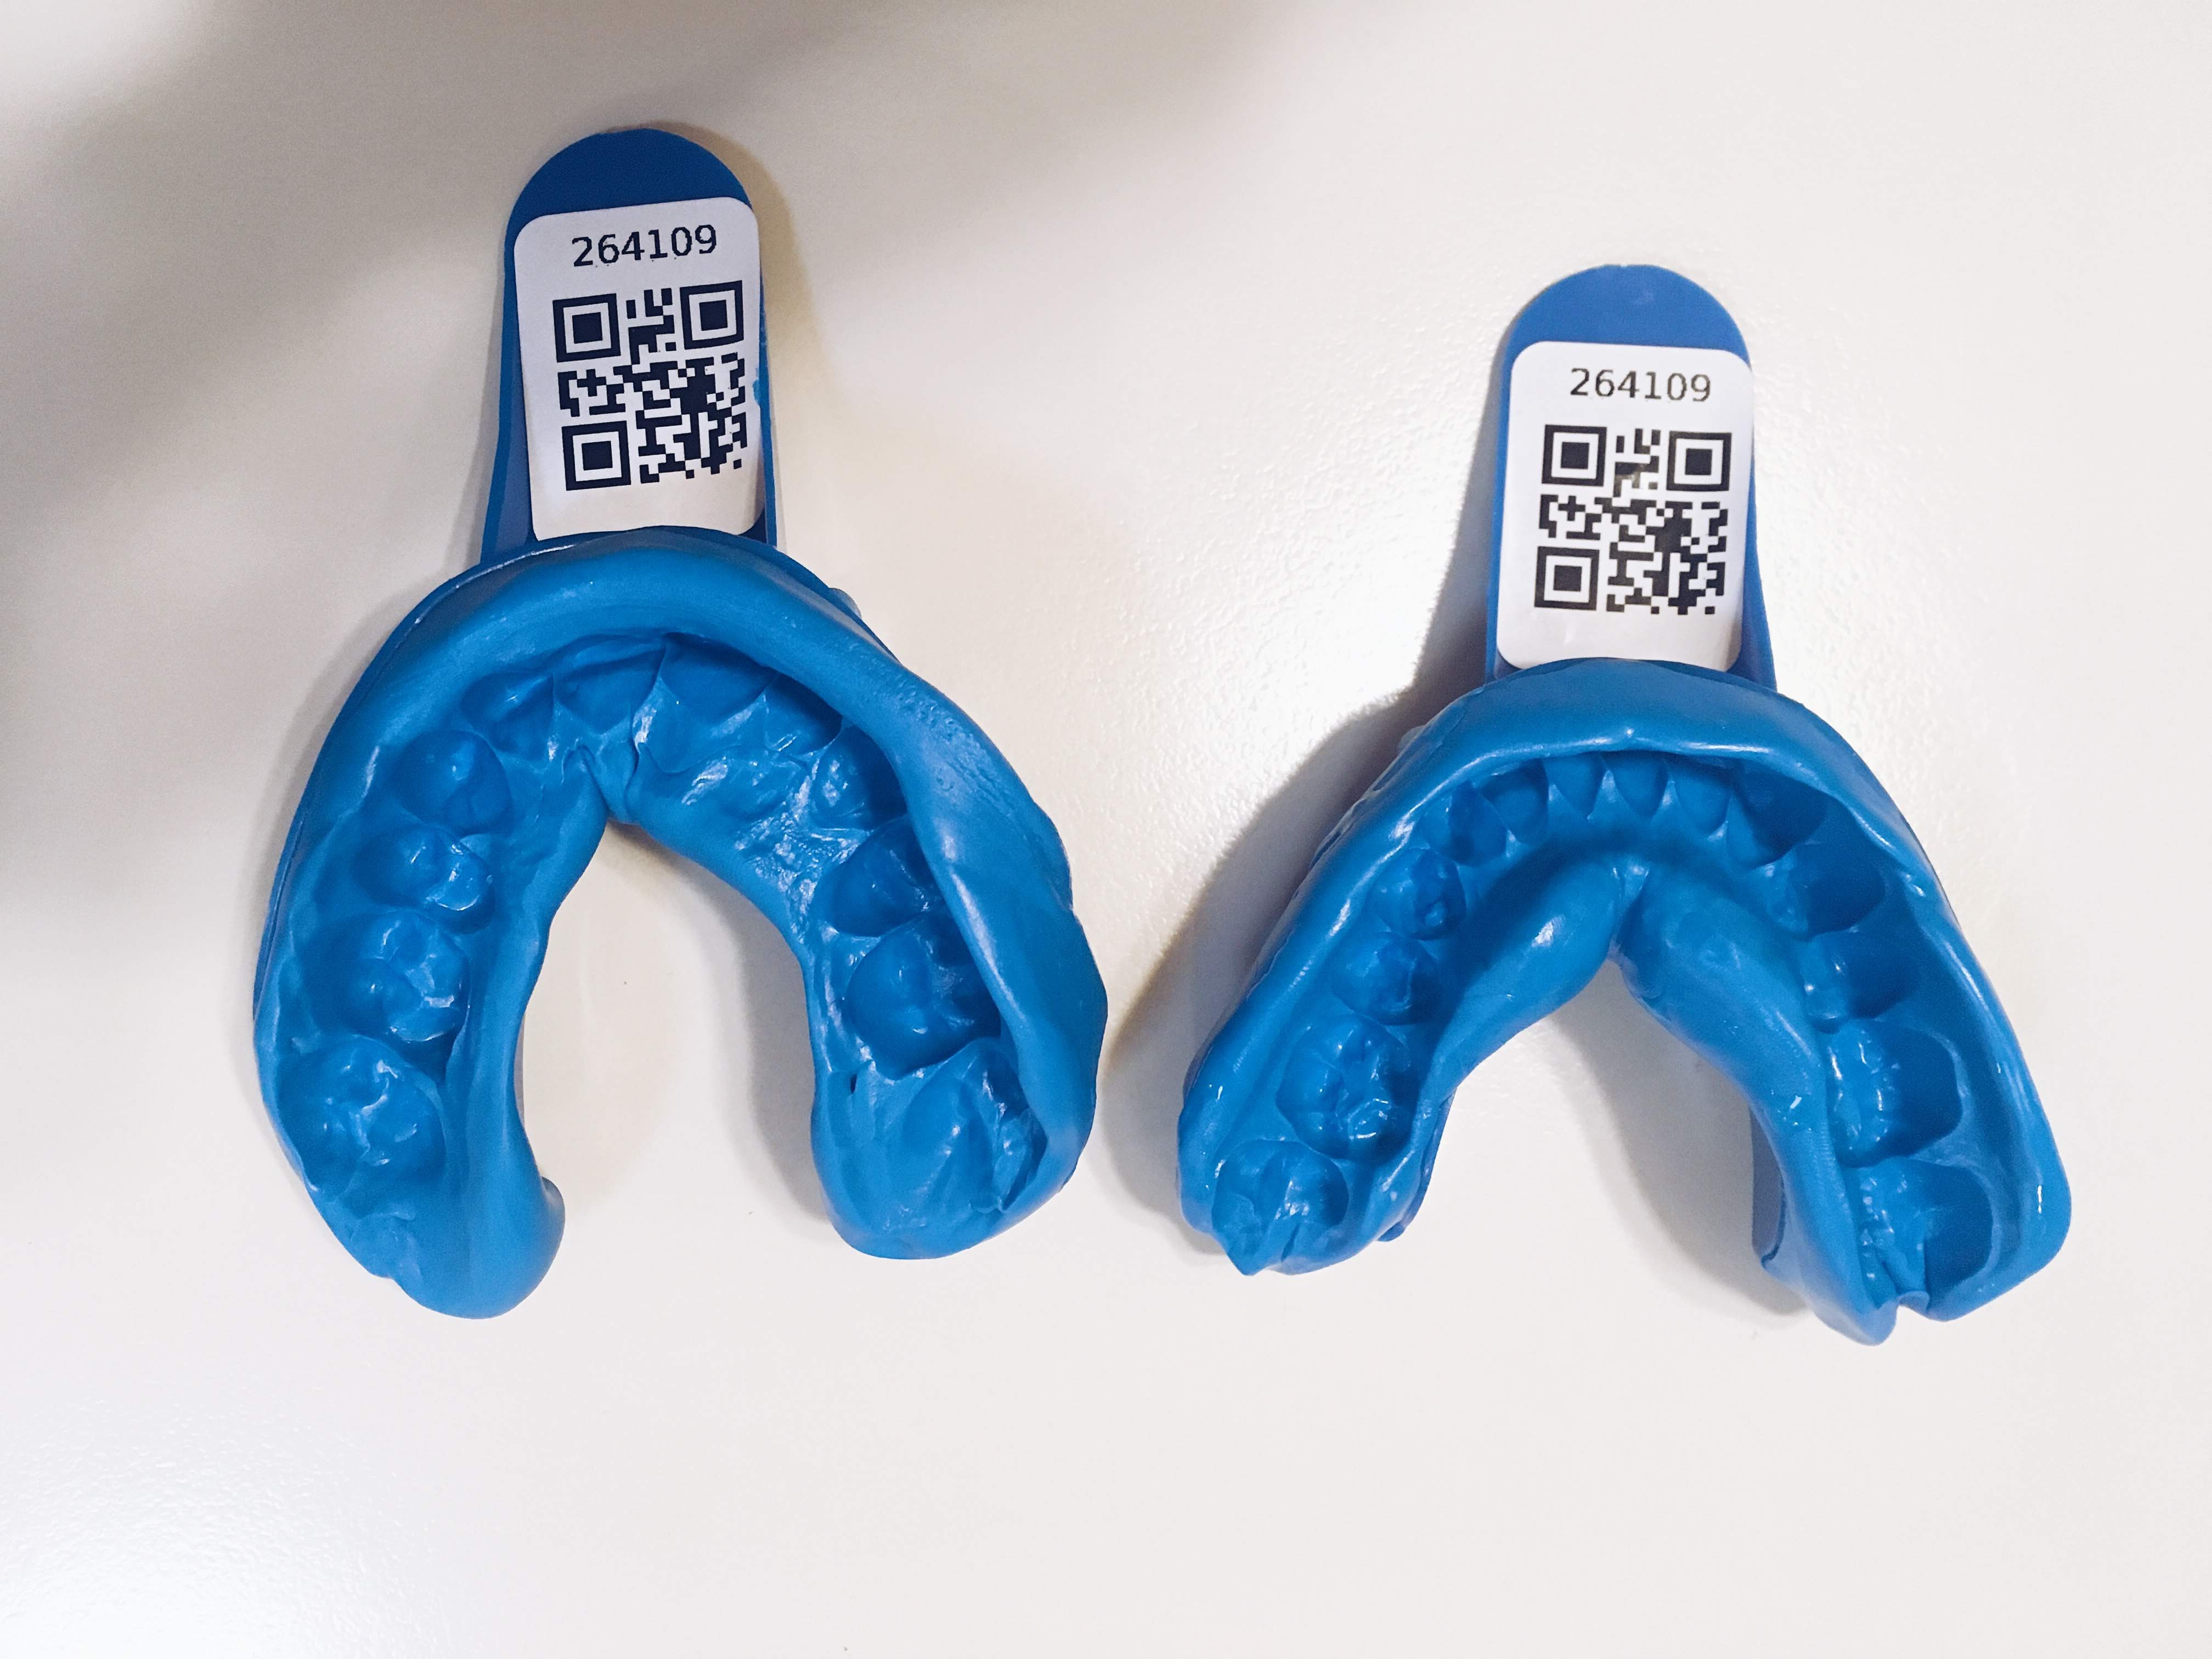
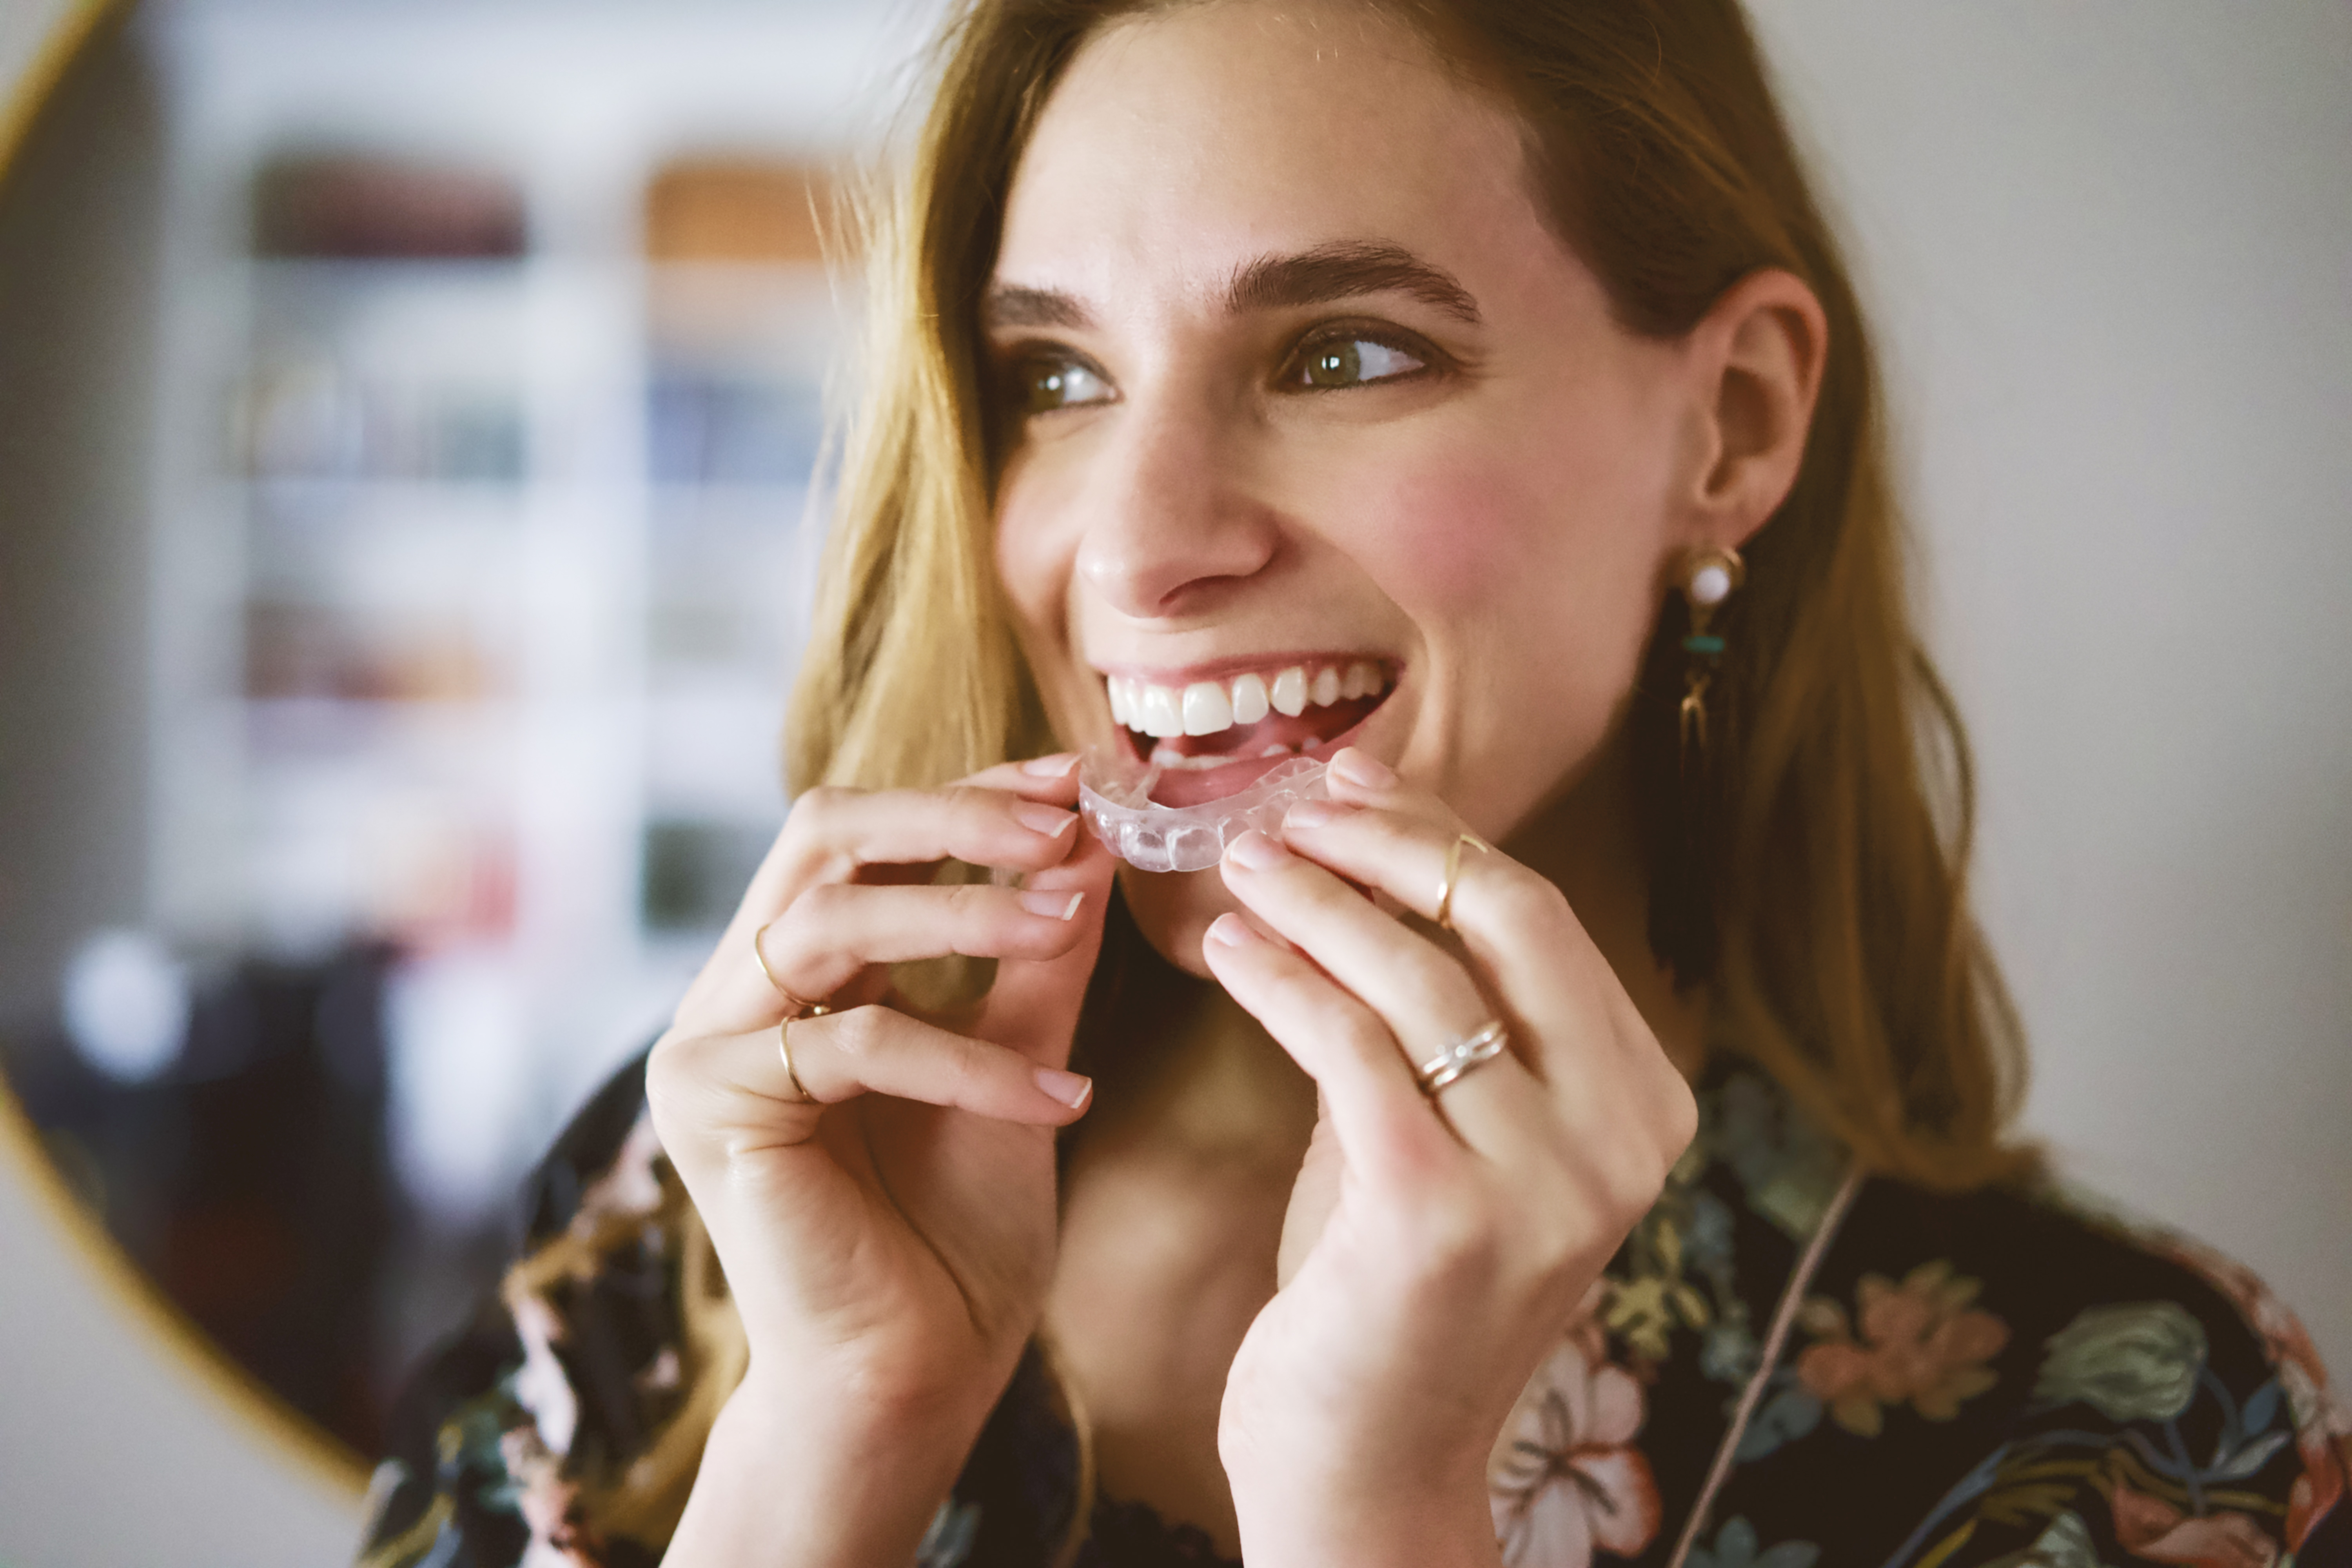
Once I received my custom trays in the mail I tried them on right away to make sure they fit. They both fit like a glove and I started my whitening process that night.
The Whitening Process
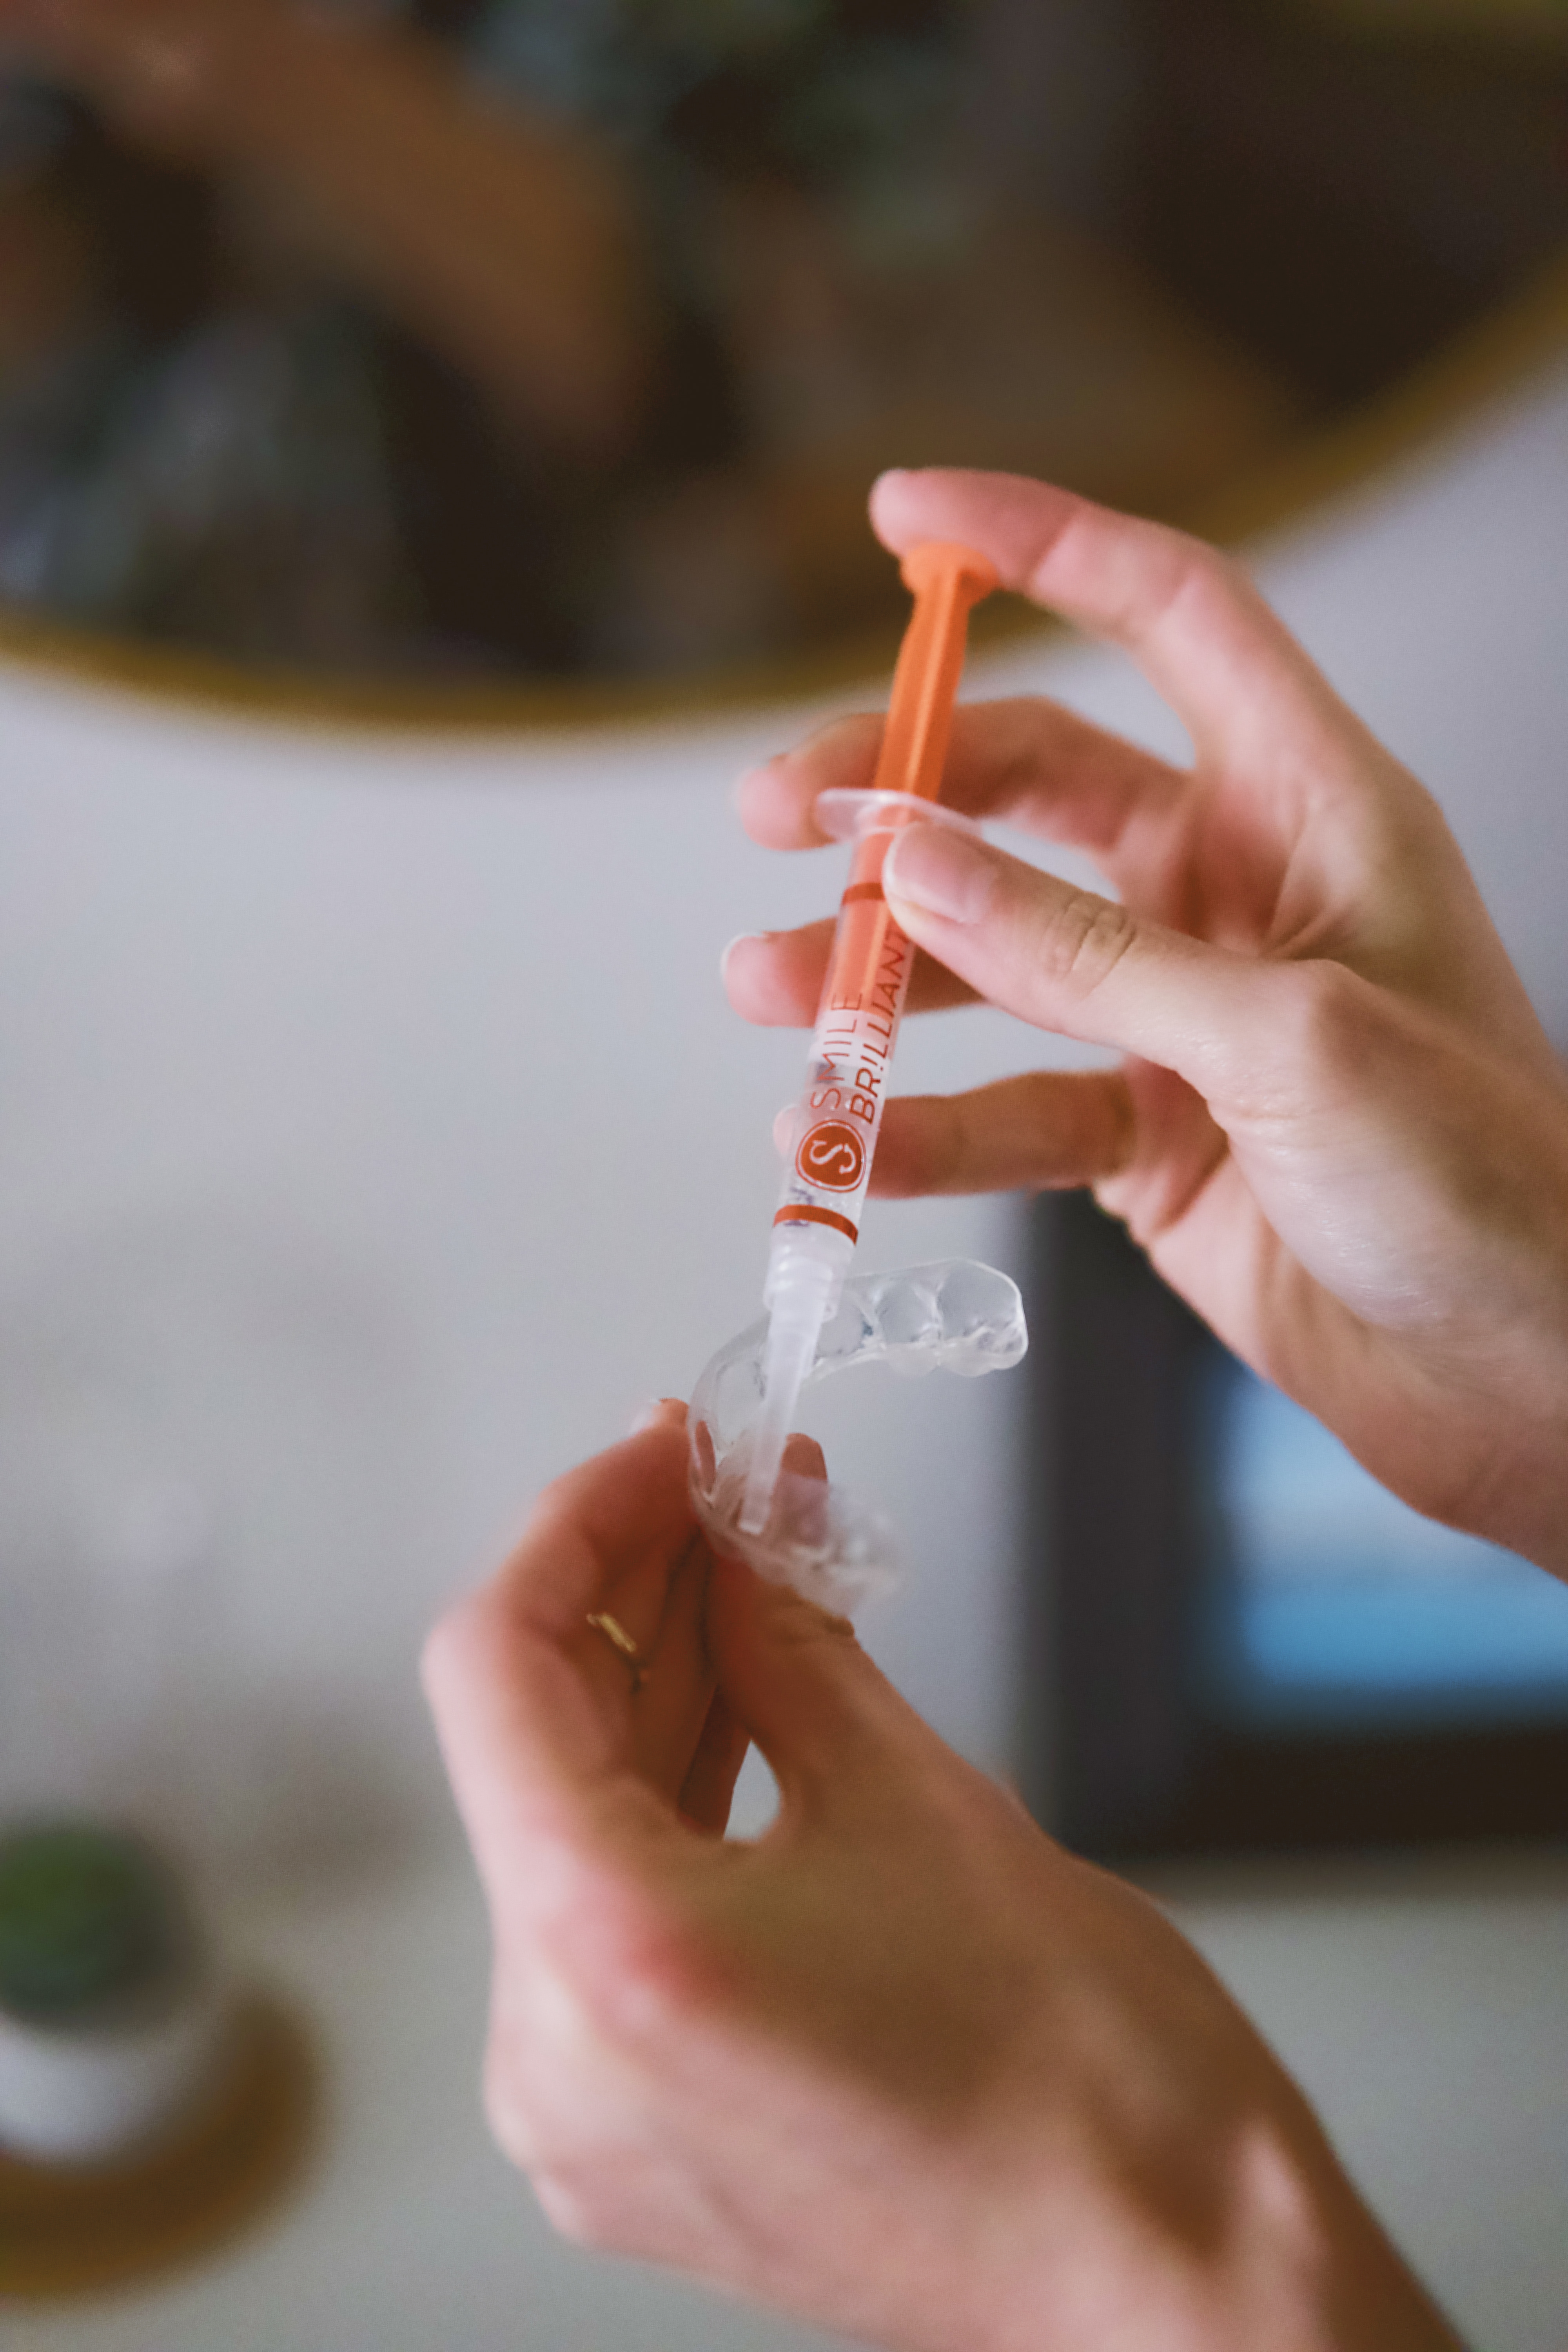
Start by brushing your teeth with water only (no toothpaste!) and flossing. Next, dispense a thin ribbon of whitening gel along the inside front of the tray. Now insert the tray over your teeth and the whitening gel will evenly disperse across the front of your teeth. The trays can be left on anywhere between 45 minutes to 3 hours. It’s best to start at 45 minuets and gradually increase your time as you go. Repeat this process daily 7 to 12 times. I whitened all 12 times to see the best results.
Pro Tip: It’s best to whiten at night to prevent restaining your teeth with food or drink. After dinner each night I would whiten my teeth and not eat or drink again until breakfast the next day.
Using The Desensitizing Gel
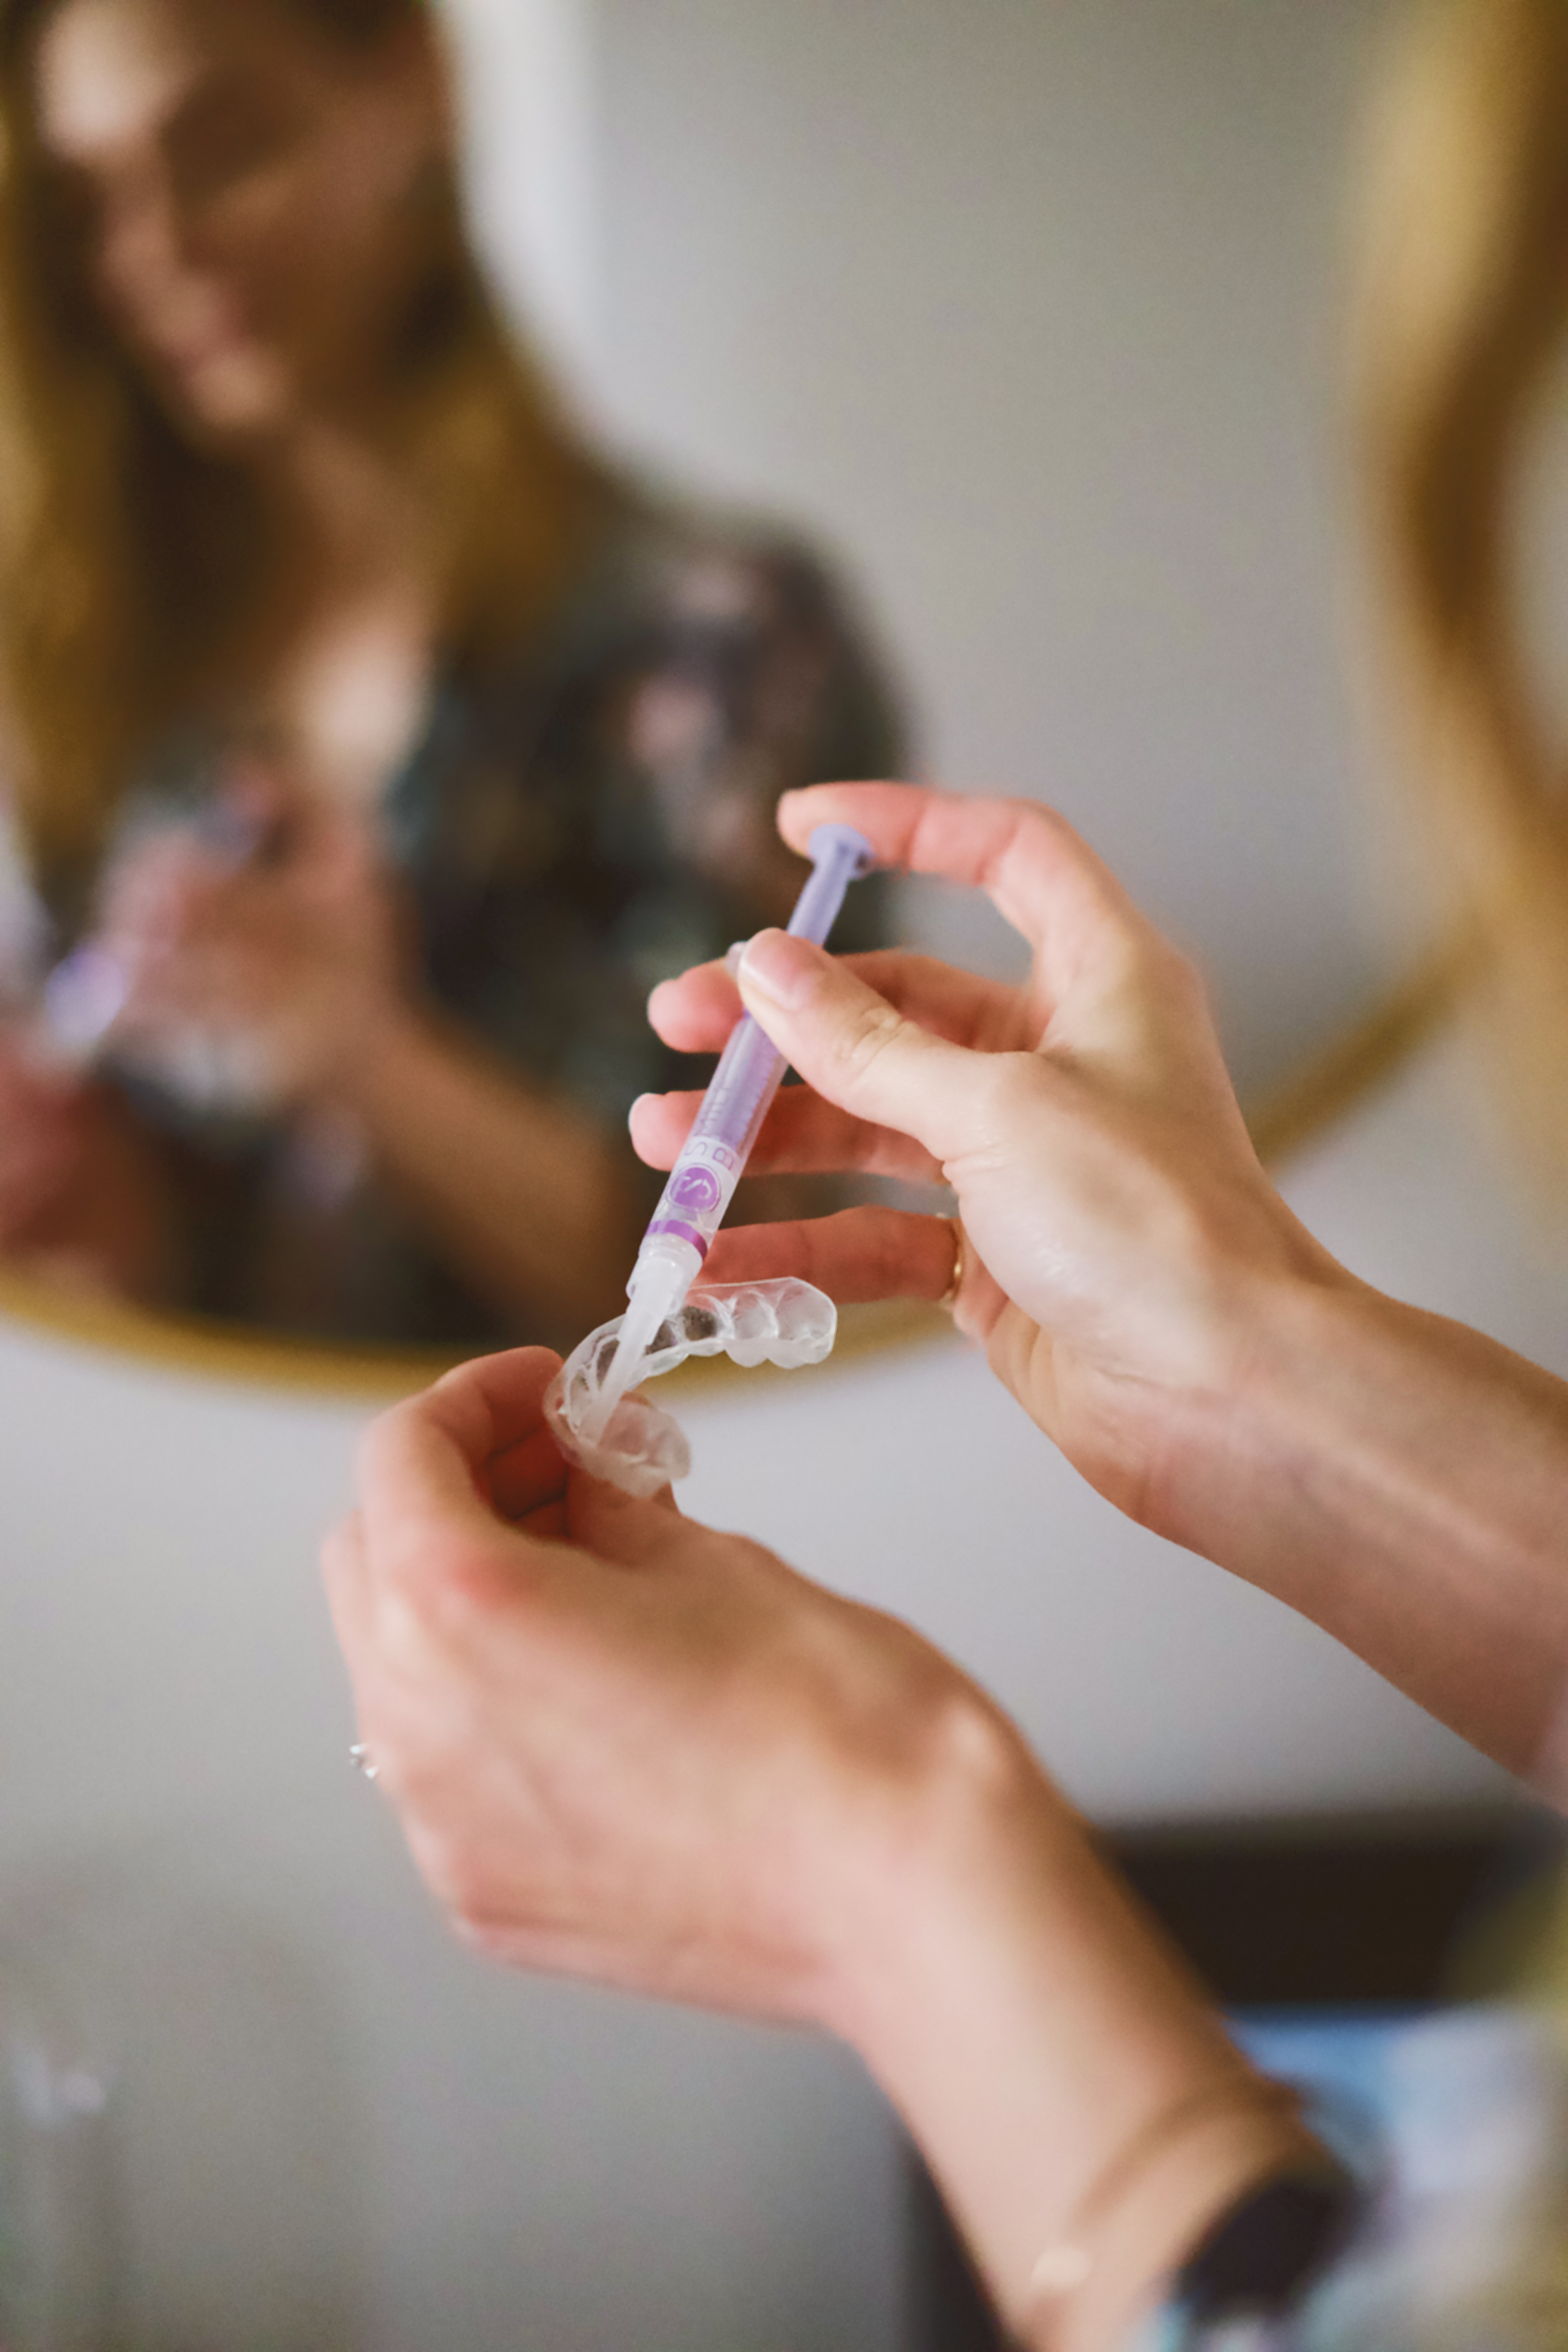
After whitening rinse out the leftover gel from the trays with cold water and brush your teeth like normal this time with toothpaste. Dry the trays and add another thin ribbon to the inside front of the trays like before, but this time with the desensitizing gel. The trays only have to be worn for 20 minuets each time. After 20 minuets rinse the trays again with cold water and spit out any excess gel you may have in your mouth.
Pro Tip: Don’t rinse or brush your teeth after using the desensitizing gel, but allow the gel that’s left on your teeth to continue working all night.
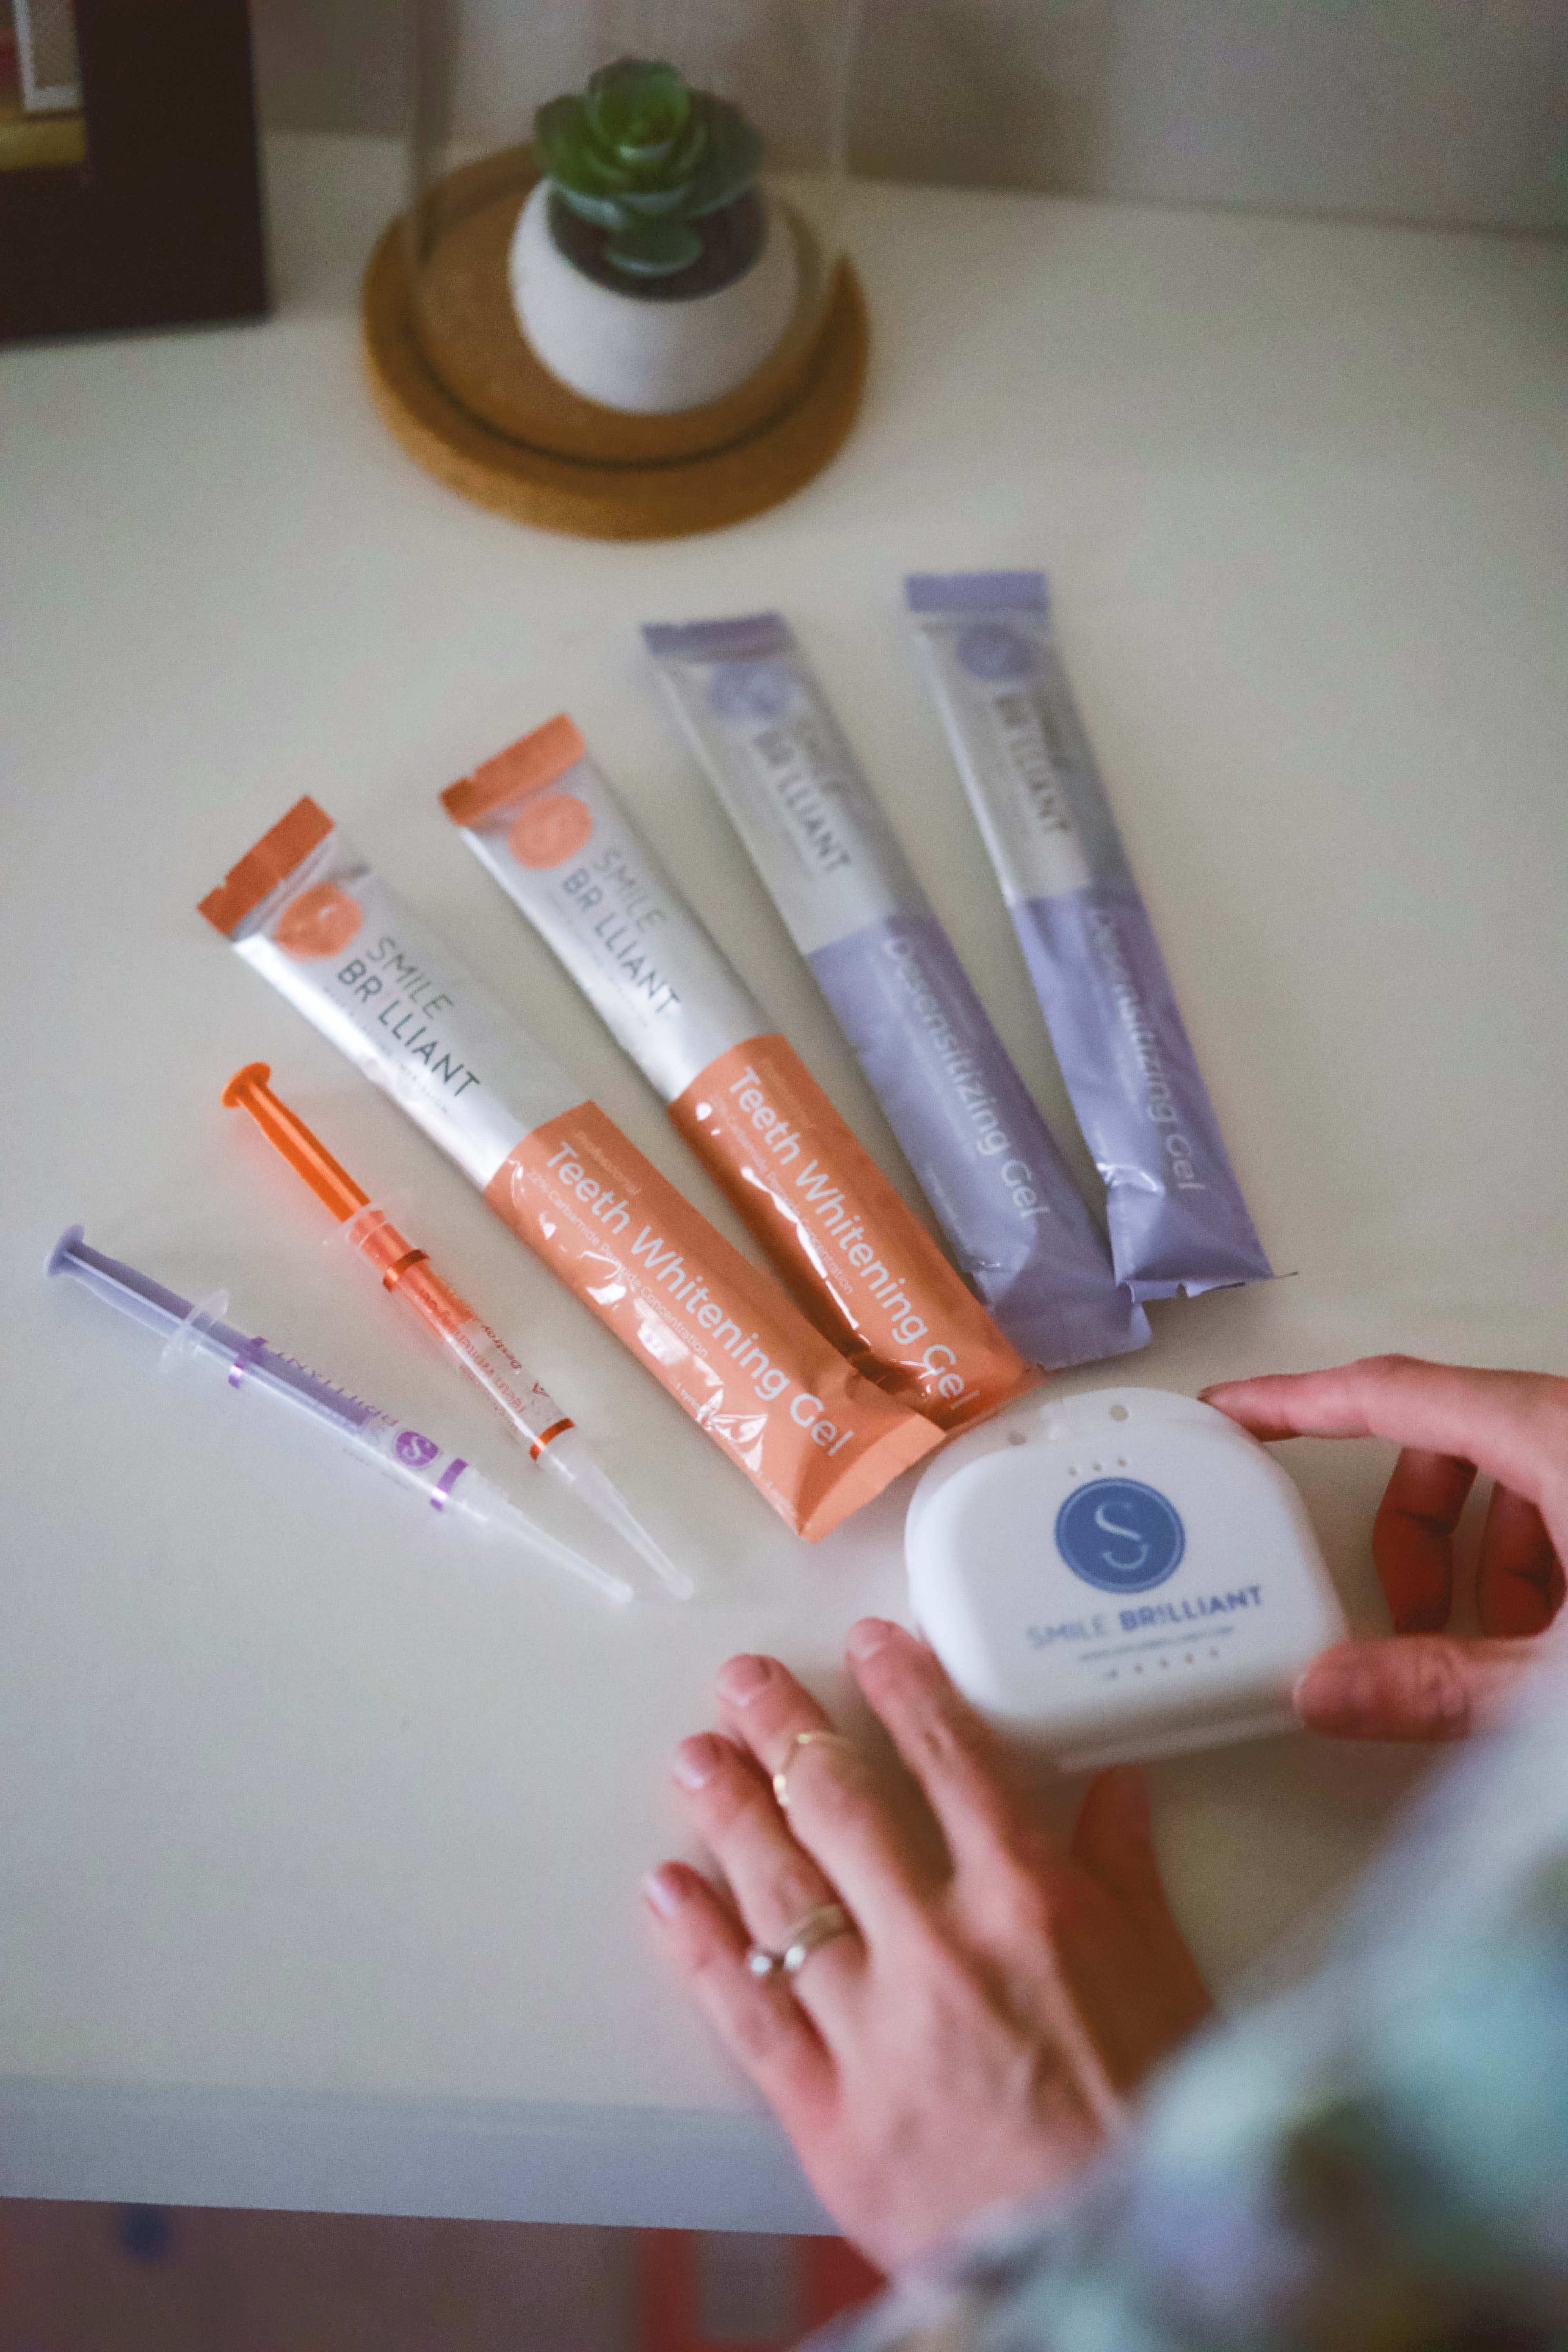
After 12 treatments I still have two and 1/2 syringes left. I’m sure I’ll be doing a second round of treatments this time next year to keep my teeth at their whitest.
Pros
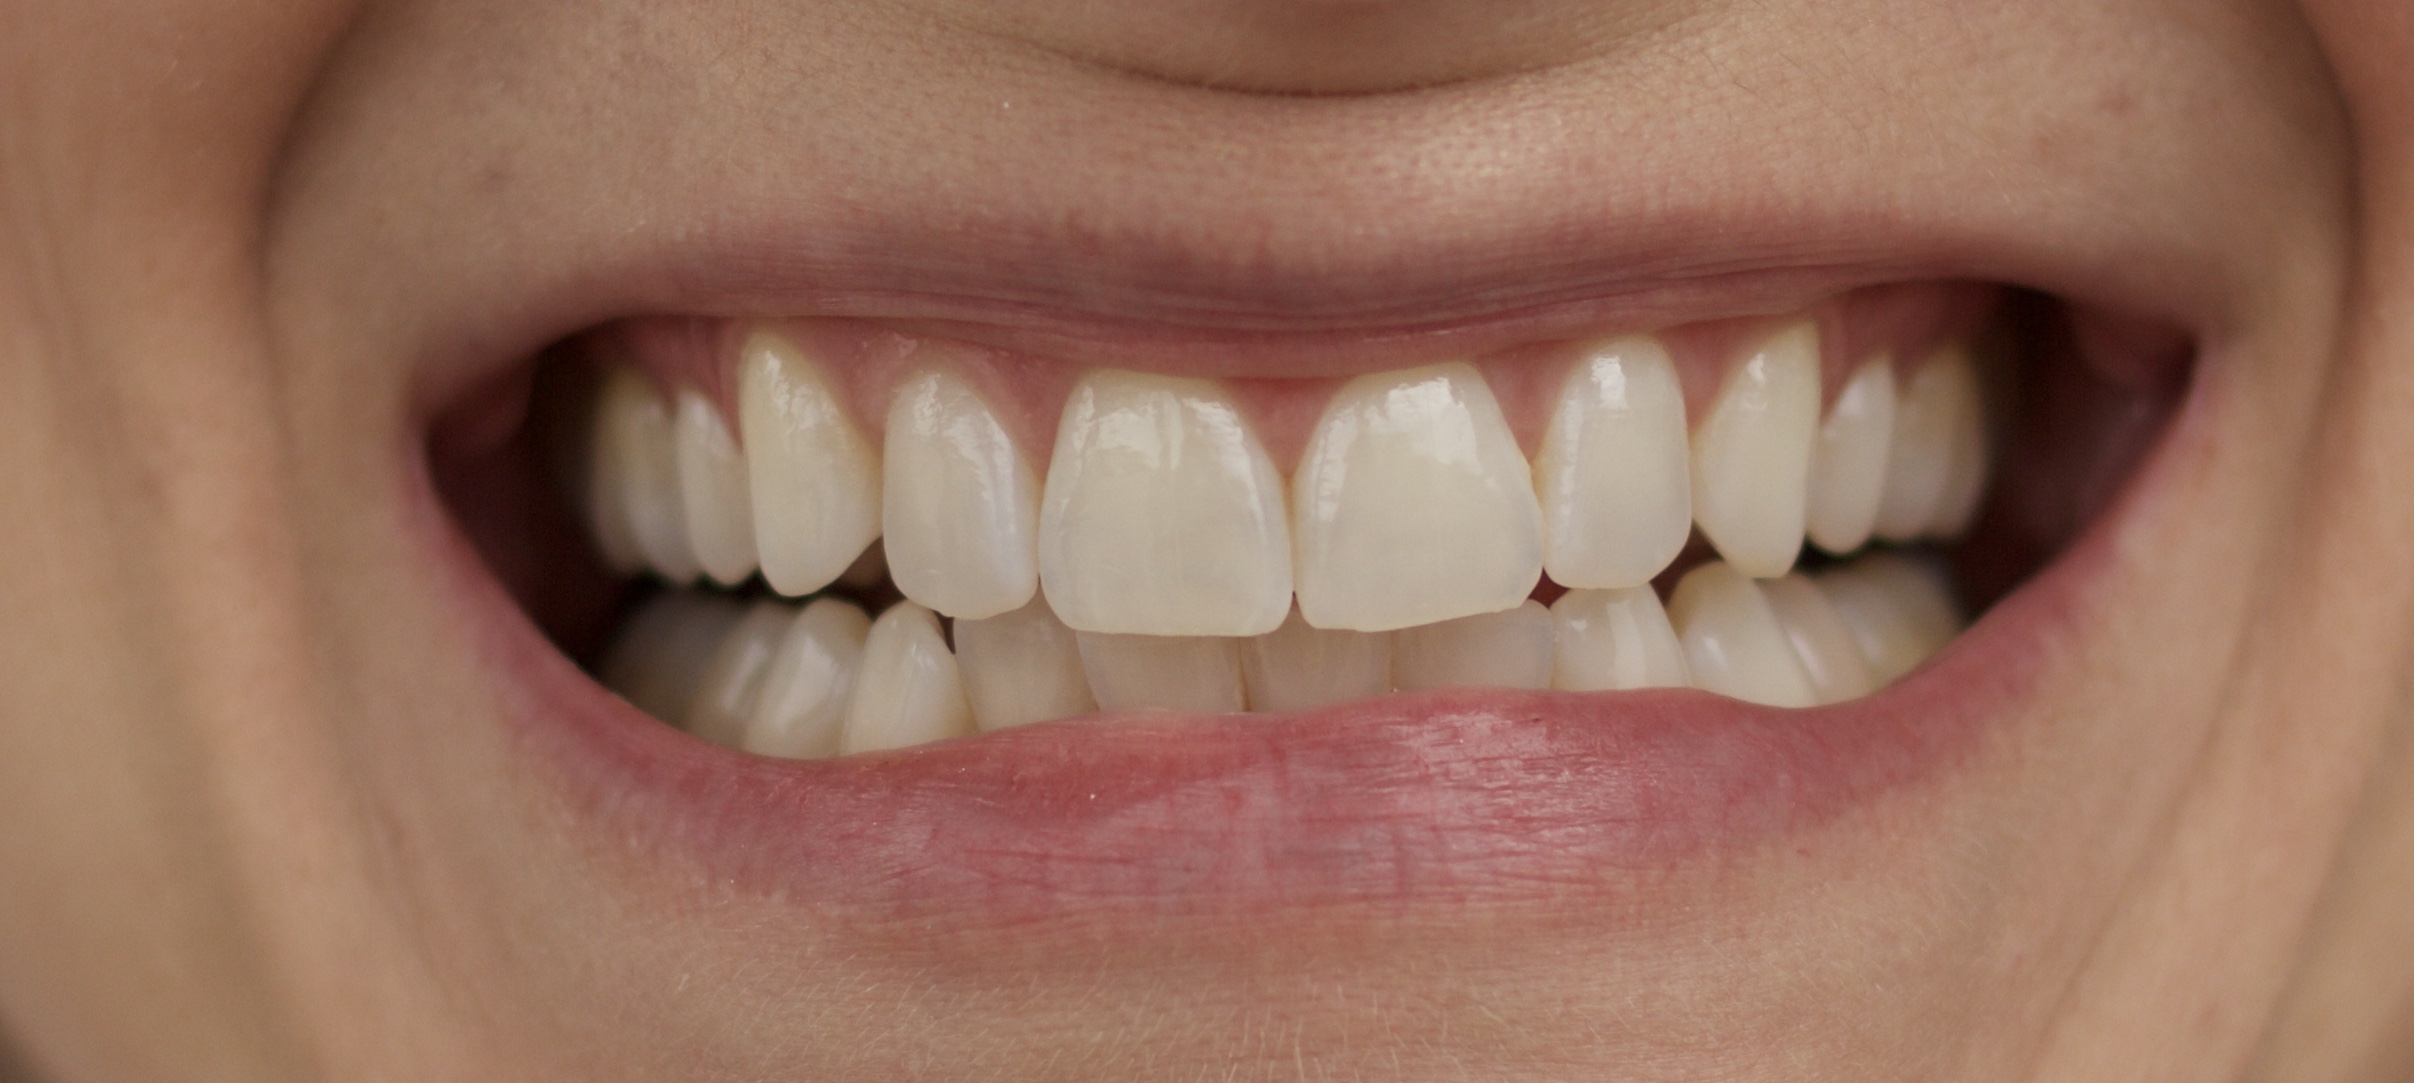
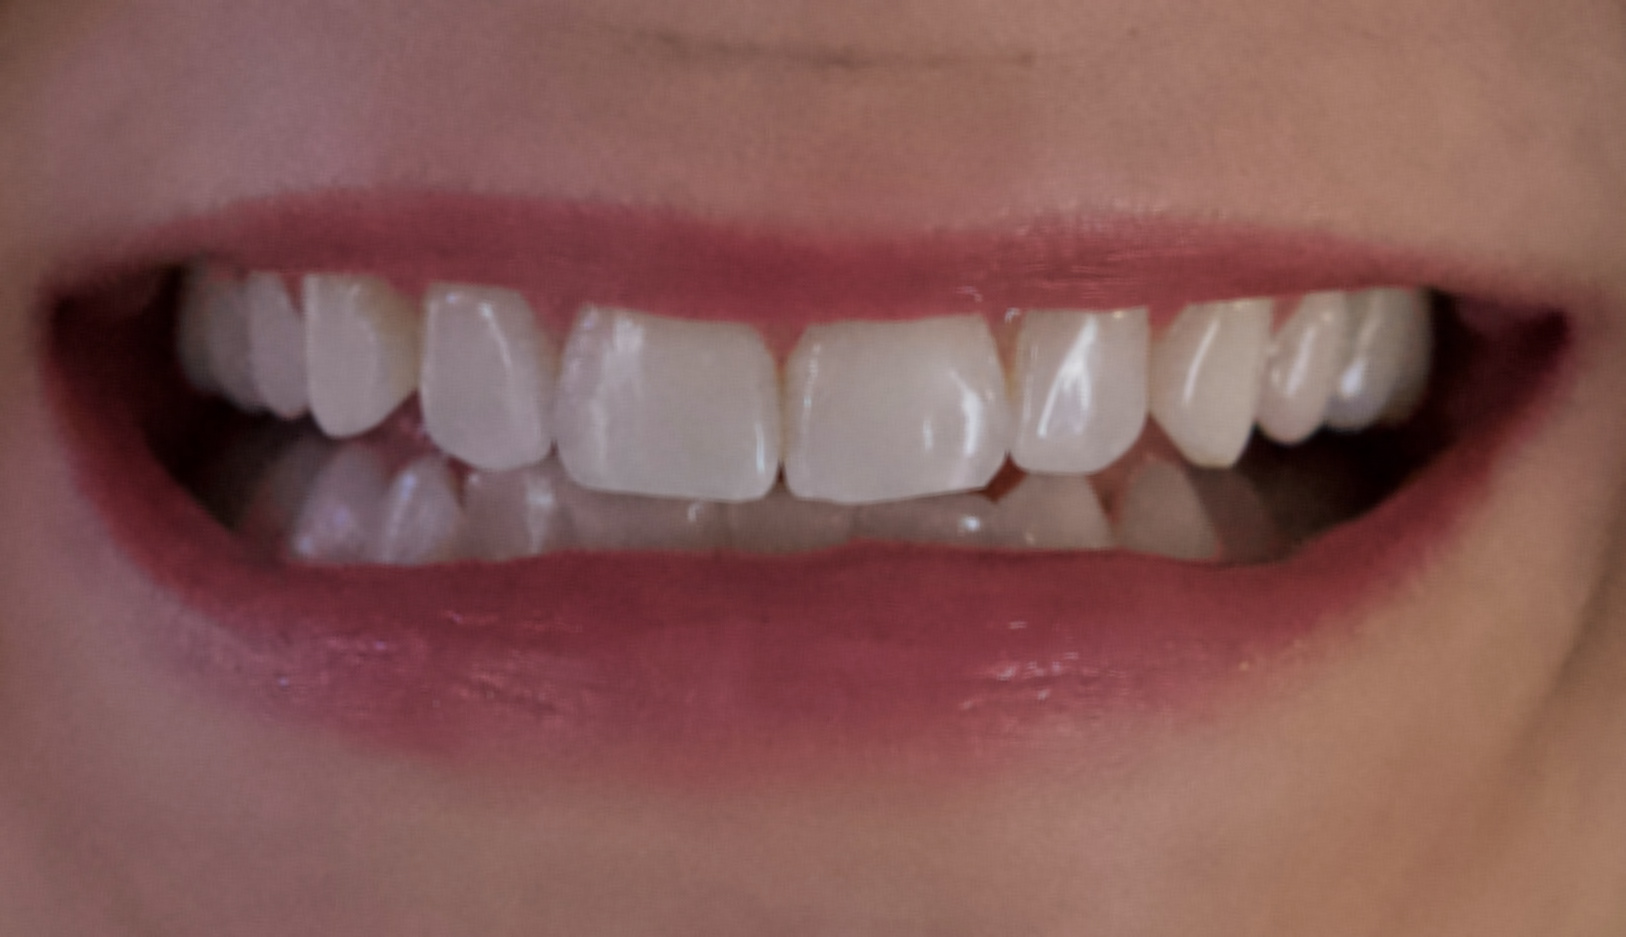
I saw a noticeable difference in the whiteness of my teeth that I didn’t see after using white strips.
Having custom trays are great for whitening all teeth evenly.
The trays can be used over and over again only needing to replenish the whitening gel.
The price is much less compared to the price I was quoted at my local dentist office for custom trays and whitening gel.
Cons
I did experience some teeth & gum sensitivity, but the combination of using sensitive tooth paste, coconut oil on my gums, and the desensitize gel the kit comes with my sensitivity never lasted long.
Because of my teeth sensitivity I didn’t whiten every single night, but chose to whiten at my own pace.

* Giveaway & Coupon Code *
Smile Brilliant has been kind enough to offer 15% off to all my readers with the coupon code: thedarkplum15, plus one lucky person will win a $149 Smile Brilliant credit. The same amount as the teeth whitening kit I used! Click here to enter the giveaway. Giveaway is open to all US, UK, Australia, and Canadian residents. The giveaway closes in two weeks on November, 28th 2018.

Have any questions about Smile Brilliant or my teeth whitening experience? Please feel free to ask in the comment section below.
Thank you to Smile Brilliant for sponsoring this post.

Such a difference!!
Thanks Dawn I completely agree! Especially on my teeth on the sides that NEVER got whitened by those little white strips. lol Don’t forget to enter the giveaway if you haven’t already & thanks for reading! 🙂